Image blending
Peponi │ 3/27/2025 │ 8m
Image blending
Peponi
1. Introduction
OpenCvSharp4는 이미지에 대한 연산 기능을 제공하여 이미지와 이미지, 이미지와 스칼라 연산을 쉽게 할 수 있다. 이 때, 연산은 각 픽셀의 채널별로 수행된다.
이 문서에서는 이미지를 합성하는 방법에 대한 예시를 간략하게 알아본다.
- Arithmetic operation
- Weighted summation
- Bitwise operation
- Mask
- Concat
- Laplacian pyramid
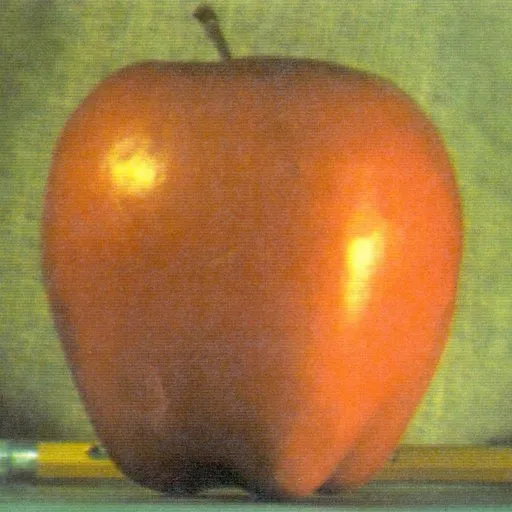
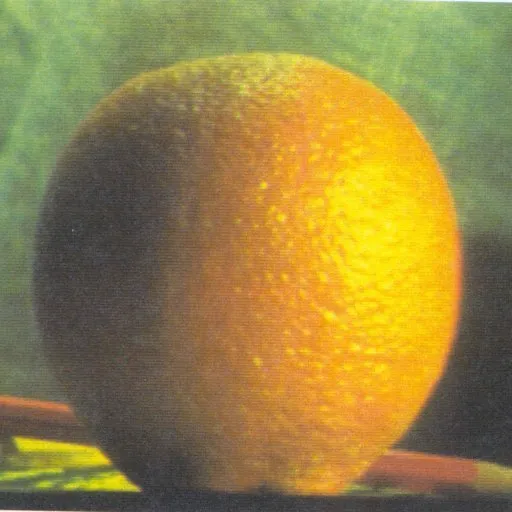
실습에 사용할 이미지는 OpenCV-Python Tutorials - Image Pyramids의 사과, 오렌지 이미지를 사용한다.
2. Arithmetic operation
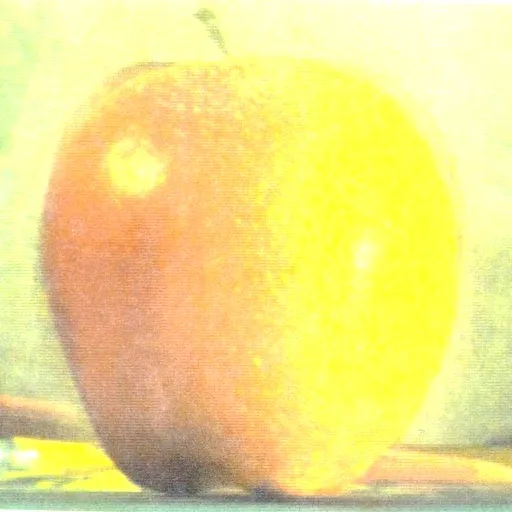
Arithmetic operation을 수행하는 경우 지정된 연산을 통해 합성된 이미지를 만들 수 있다. 다음 예시는 + 연산을 수행한다.
private void Arithmetic(Mat apple, Mat orange)
{
    using var result = new Mat();
    Cv2.Add(apple, orange, result);
}
TIP
자세한 예시는 Arithmetic operations를 참조한다.
3. Weighted summation
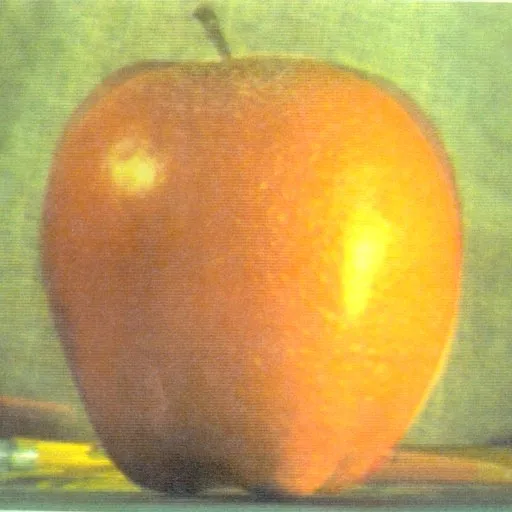
OpenCV에서는 가중치를 적용한 add 기능을 제공하여 더욱 자연스러운 이미지 출력을 시도할 수 있다. OpenCvSharp4에는 Cv2.AddWeighted()라는 메서드로 등록되어 있으며, 다음 연산을 수행한다.
사용 방법은 다음과 같다.
private void Weighted(Mat apple, Mat orange)
{
    using var result = new Mat();
    // Cv2.AddWeighted(image1, alpha, image2, beta, gamma, result)
    Cv2.AddWeighted(apple, 0.8, orange, 0.5, 0, result);
}
4. Bitwise operation
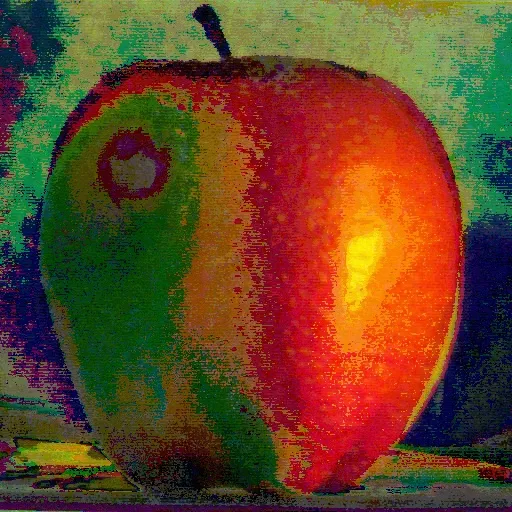
Bitwise operation을 수행하는 경우 지정된 연산을 통해 합성된 이미지를 만들 수 있다. 다음 예시는 연산을 수행한다.
private void Bitwise(Mat apple, Mat orange)
{
    using var result = new Mat();
    Cv2.BitwiseAnd(apple, orange, result);
}
TIP
자세한 예시는 Bitwise operations를 참조한다.
5. Mask
이미지 합성 시 mask를 이용하여 특정 형상을 포함시킬 수 있다. 주로 로고, feature 등을 다른 이미지에 합성하는 데 활용된다.
5.1. SetTo
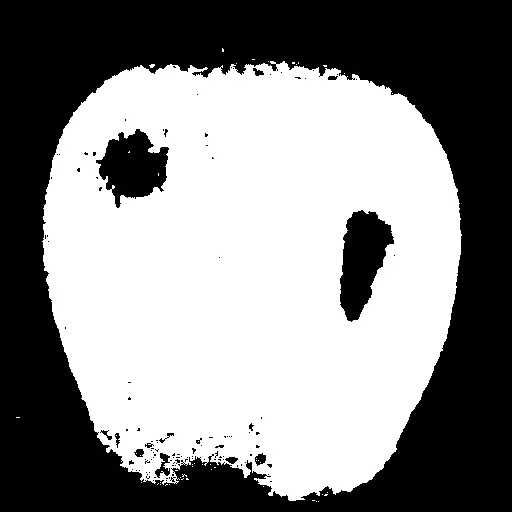 Mask
Mask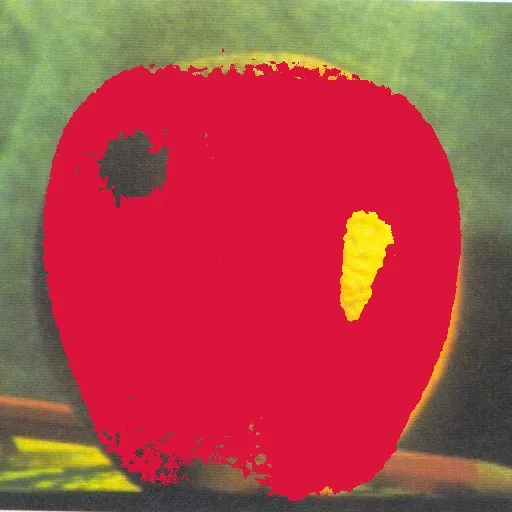 Result
Mat.SetTo()를 이용하면 지정된 마스크 공간에 특정 색상을 채울 수 있다. 이는 이미지 프로세싱 구역 또는 프로세싱을 수행하지 않는 구역을 표시하는 데 유용하다.
private void SetTo(Mat apple, Mat orange)
{
    // HSV 색상 공간으로 변경
    using var hsv = apple.CvtColor(ColorConversionCodes.BGR2HSV);

    using var redLow = new Mat();
    using var redHigh = new Mat();

    // Red color 추출
    // Cv2.InRange(input, lower bound, upper bound, output)
    Cv2.InRange(hsv, new(0, 50, 50), new(15, 255, 255), redLow);
    Cv2.InRange(hsv, new(150, 50, 50), new(180, 255, 255), redHigh);
    using var mask = redLow + redHigh;

    // 마스크의 흰색 영역을 crimson 색상으로 채우면서 합성
    using var result = orange.Clone();
    result.SetTo(Scalar.Crimson, mask);
}
5.2. CopyTo
 Mask
Mask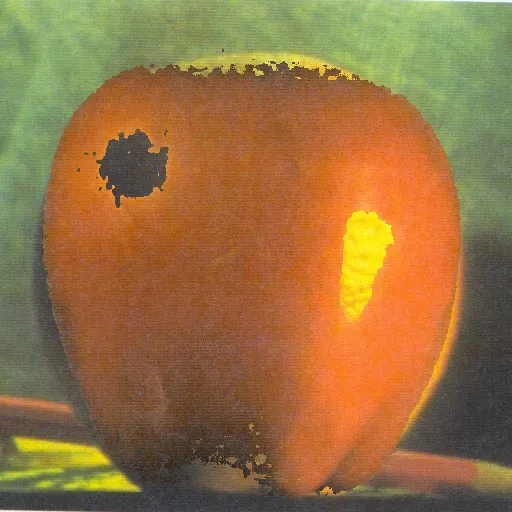 Result
Mat.CopyTo()를 이용하면 지정된 마스크 공간에 해당하는 원본 이미지 영역을 대상 이미지에 합성한다. Feature 추출 후 다른 이미지에 합성하는 데 사용할 수 있다.
private void CopyTo(Mat apple, Mat orange)
{
    // HSV 색상 공간으로 변경
    using var hsv = apple.CvtColor(ColorConversionCodes.BGR2HSV);

    using var redLow = new Mat();
    using var redHigh = new Mat();

    // Red color 추출
    // Cv2.InRange(input, lower bound, upper bound, output)
    Cv2.InRange(hsv, new(0, 50, 50), new(15, 255, 255), redLow);
    Cv2.InRange(hsv, new(150, 50, 50), new(180, 255, 255), redHigh);
    using var mask = redLow + redHigh;

    // 마스크의 흰색 영역에 해당하는 사과가 오렌지 이미지에 합성된다.
    using var result = orange.Clone();
    apple.CopyTo(result, mask);
}
TIP
색상 추출에 대한 자세한 정보는 Extract, merge color channels를 참조한다.
6. Concat
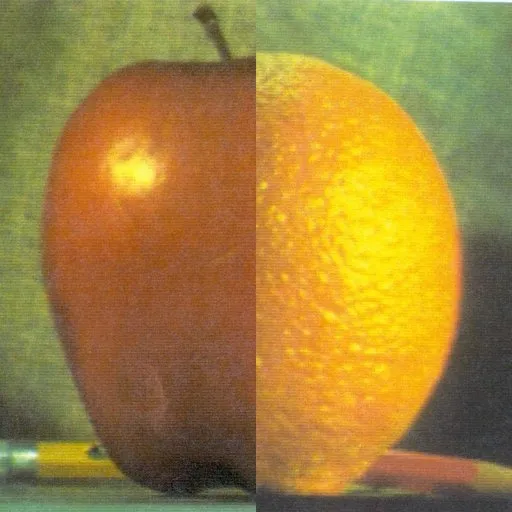
다음 예시는 OpenCvSharp4의 Mat.SubMat()을 통해 이미지를 잘라내고, Cv2.HConcat()을 통해 이미지를 합성하는 예시이다.
private void Concat(Mat apple, Mat orange)
{
    using var result = new Mat();
    using var appleLeft = apple.SubMat(new Rect(0, 0, apple.Width / 2, apple.Height));
    using var orangeRight = orange.SubMat(new Rect(orange.Width / 2, 0, orange.Width / 2, orange.Height));
    Cv2.HConcat([appleLeft, orangeRight], result);
}
상기 결과 이미지와 같이, 바로 이어붙이는 경우 부자연스러운 결과를 가져올 수 있다. 다음 예시는 laplace pyramid를 이용하여 조금 더 자연스러운 결과를 만드는 것을 보여준다.
7. Laplacian pyramid
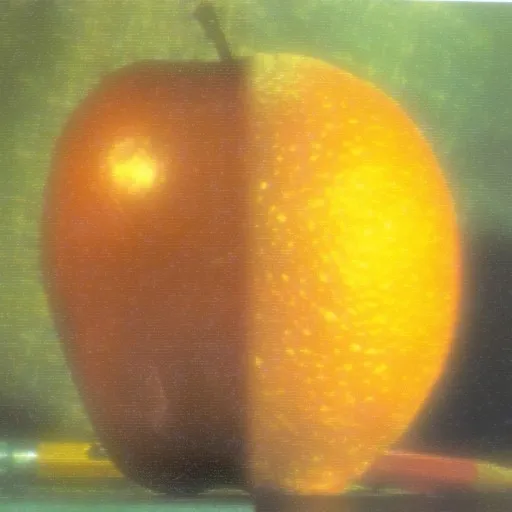
Image pyramids에 서술된 바와 같이, laplacian pyramid는 gaussian pyramid로부터 생성되며 residual (원본과 gaussian blur 이미지의 차이) 정보를 포함하고 있다. 이를 응용하여 image blending에 사용할 수 있는데, 각 이미지의 경계를 유지하며 이미지가 만나는 부분은 부드럽게 처리되는 효과를 얻을 수 있다.
프로세스는 OpenCV-Python Tutorials - Image Pyramids의 과정 중 pyramid 레벨만 변경, 나머지는 동일하게 진행하였다.
- Load the two images of apple and orange
- Find the Gaussian Pyramids for apple and orange (in this particular example, number of levels is 6)
- From Gaussian Pyramids, find their Laplacian Pyramids
- Now join the left half of apple and right half of orange in each levels of Laplacian Pyramids
- Finally from this joint image pyramids, reconstruct the original image.
private void LaplacePyramid(Mat apple, Mat orange)
{
    // Build gaussian pyramid
    var appleGaussian = apple.BuildPyramid(4).ToList();
    var orangeGaussian = orange.BuildPyramid(4).ToList();

    // Build laplacian pyramid
    List<Mat> appleLaplacian = BuildLaplacianPyramid(appleGaussian);
    List<Mat> orangeLaplacian = BuildLaplacianPyramid(orangeGaussian);

    // Blending base
    var result = new Mat();
    using var appleLeft = appleGaussian.Last().SubMat(new Rect(0, 0, appleGaussian.Last().Width / 2, appleGaussian.Last().Height));
    using var orangeRight = orangeGaussian.Last().SubMat(new Rect(orangeGaussian.Last().Width / 2, 0, orangeGaussian.Last().Width / 2, orangeGaussian.Last().Height));
    Cv2.HConcat([appleLeft, orangeRight], result);

    // Laplacian blending
    for (int i = 0; i < appleLaplacian.Count; i++)
    {
        result = result.PyrUp();
        if (result.Size() != appleLaplacian[i].Size())
            Cv2.Resize(result, result, appleLaplacian[i].Size());

        // Join laplacians
        using var laplacian = new Mat();
        using var laplacianLeft = appleLaplacian[i].SubMat(new Rect(0, 0, appleLaplacian[i].Width / 2, appleLaplacian[i].Height));
        using var laplacianRight = orangeLaplacian[i].SubMat(new Rect(orangeLaplacian[i].Width / 2, 0, orangeLaplacian[i].Width / 2, orangeLaplacian[i].Height));
        Cv2.HConcat([laplacianLeft, laplacianRight], laplacian);

        // Reconstruct image
        result = result.Add(laplacian);
    }

    Cv2.ImShow("Laplacian result", result);

    result.Release();

    List<Mat> BuildLaplacianPyramid(List<Mat> gaussian)
    {
        var laplacian = new List<Mat>();
        for (int i = gaussian.Count - 1; i > 0; i--)
        {
            using var tempUp = gaussian[i].PyrUp();
            if (tempUp.Size() != gaussian[i - 1].Size())
                Cv2.Resize(tempUp, tempUp, gaussian[i - 1].Size());

            laplacian.Add(gaussian[i - 1] - tempUp);
        }
        return laplacian;
    }
}
TIP
Laplace pyramid에 대한 자세한 설명은 Image pyramids를 참조한다.
